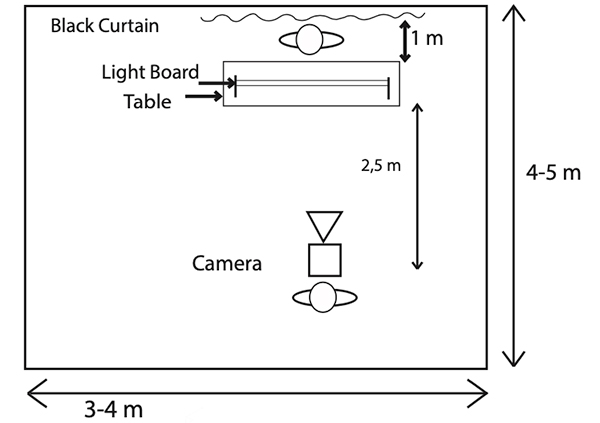
- The Lightboard is mounted on a motorized table so it can be adjusted to suit the presenter’s height.
- Ideally a blackout studio or a room that is as dark as possible.
- No external lighting needed.
- Lapel microphones used to ensure the presenter’s comfort and a high-quality sound recording.
- Camera setup of 2 cameras allow for a wide and close shots and improved editing purposes however
- 1 camera will still work very effectively.
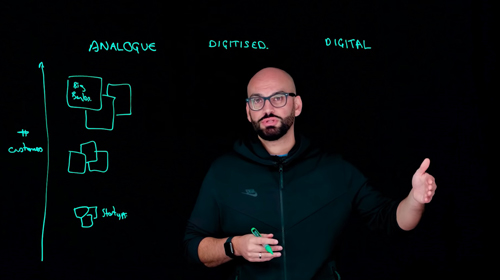
- The image is ‘flipped’ in post-production so the text appears the right way around.
- The studio setup works best for the larger learning glass product
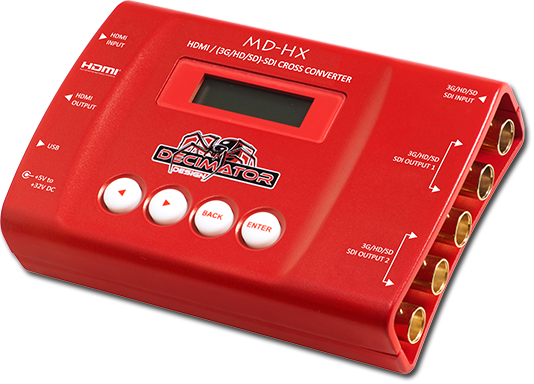
Live Streaming
- When live streaming in a studio setup it is recommended to use a device such as a decimator shown in the image opposite.
- This will flip the image as you present causing the graphics to appear the correct way around for audiences.
- Connect to a video streaming platform and start your presentation.
Setup at Home or Office (LGE30, LGE45, iC-LGE30, iC-LGE45)
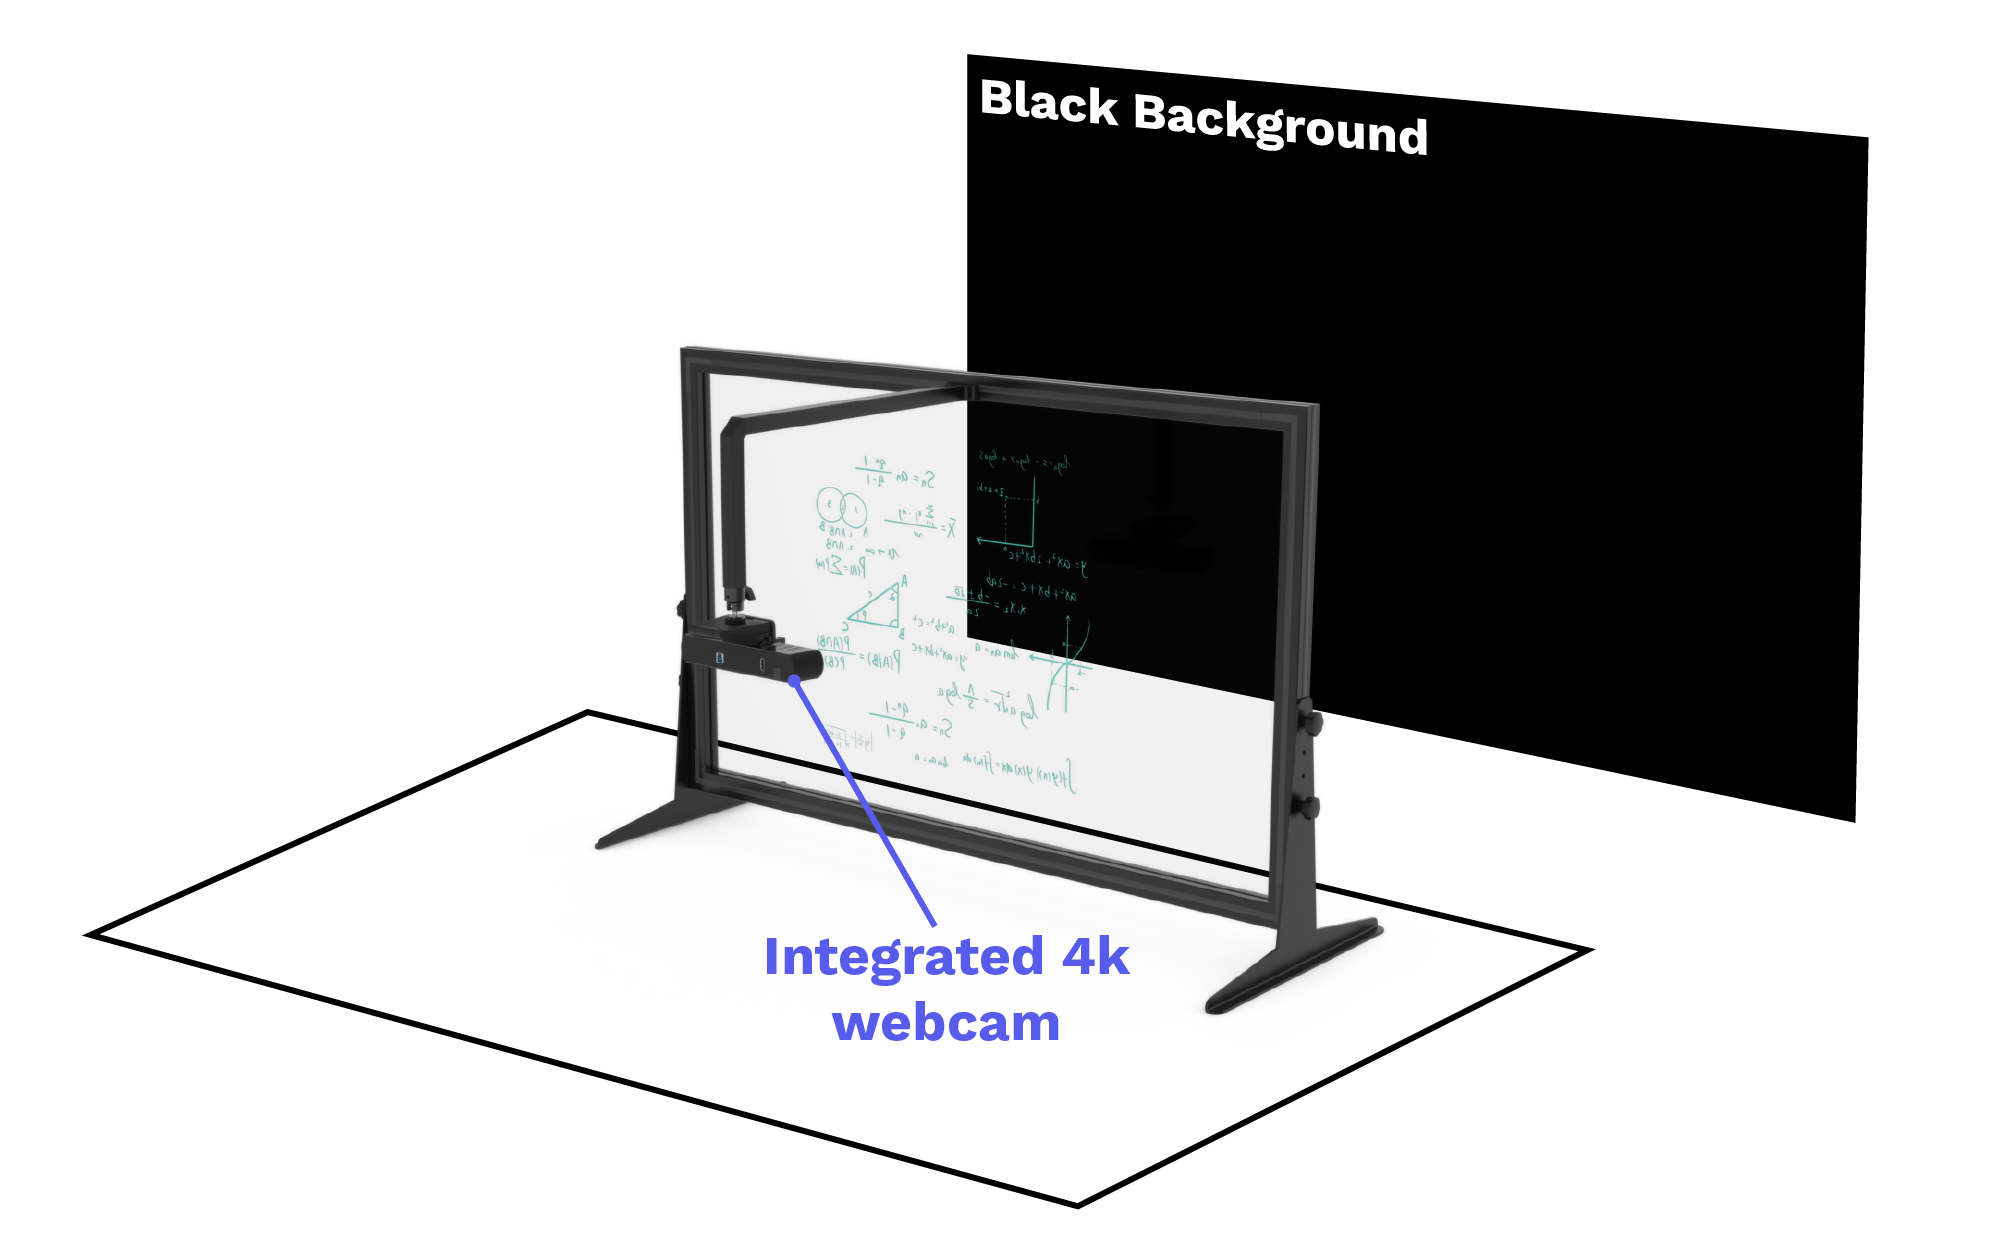
We have two models that are suited to a home setup or small office location. These are the LGE30 and LGE45. Both models are also available with integrated camera. See products page.
To achieve the best results with using your lightboard at home or small office location, we have put together some useful tips:
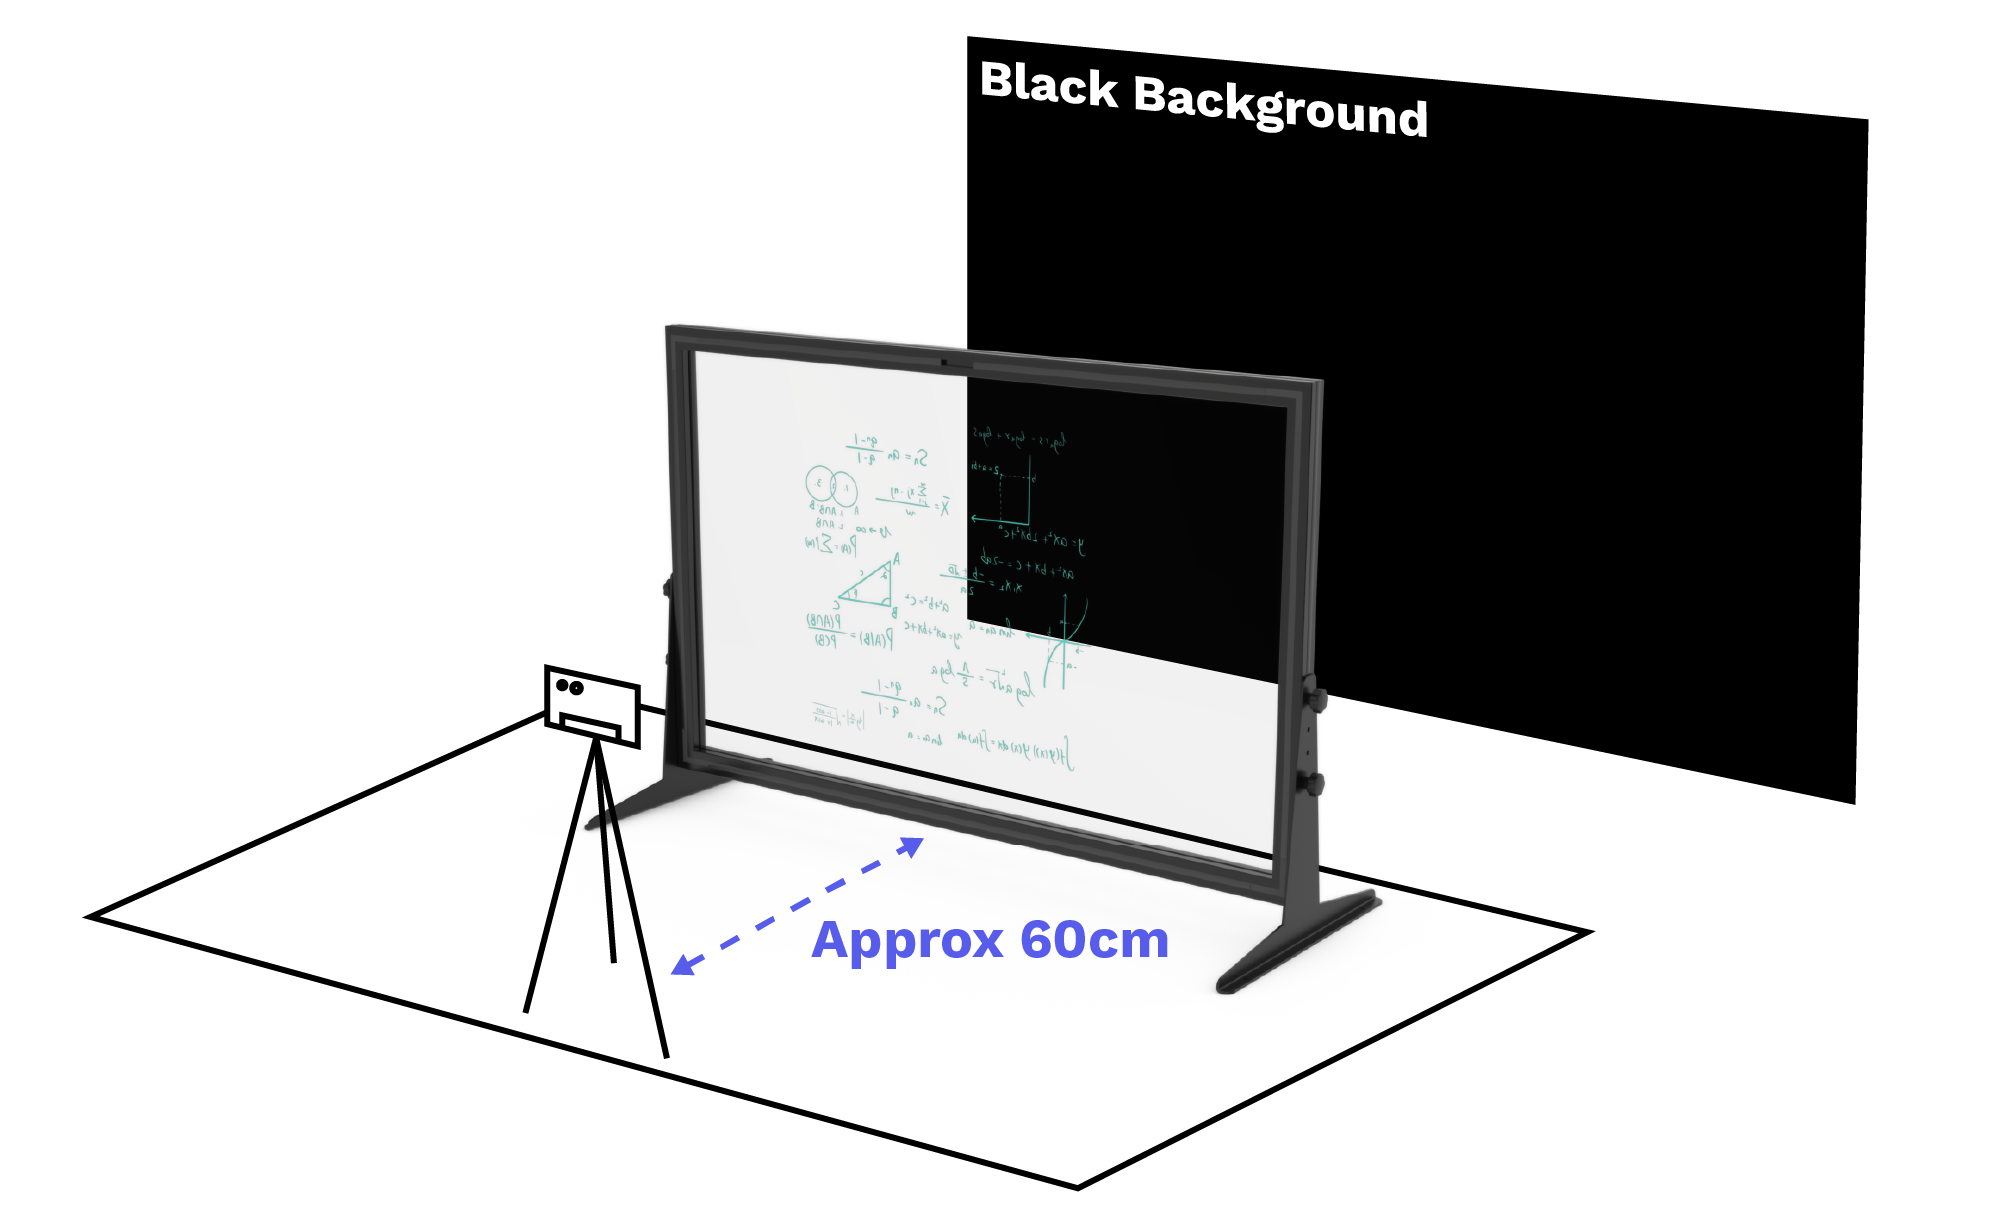
- Stand the Learning Glass on a desk or table. A standard desk size (width of 120-140cm) will be sufficient. Adjust the lightboard to the appropriate height.
- Try to use a black background, 2-3m wide. This will give the best results for two reasons; black absorbs light better which prevents reflections, and it also helps the neon to stand out even more. Always choose a matt/non-shiny black.
- Place your camera in front of the lightboard and adjust so that the camera fits to the frame. If you are using the Learning Glass with integrated camera (iC model), the camera provided will already be calibrated to fit to the frame.
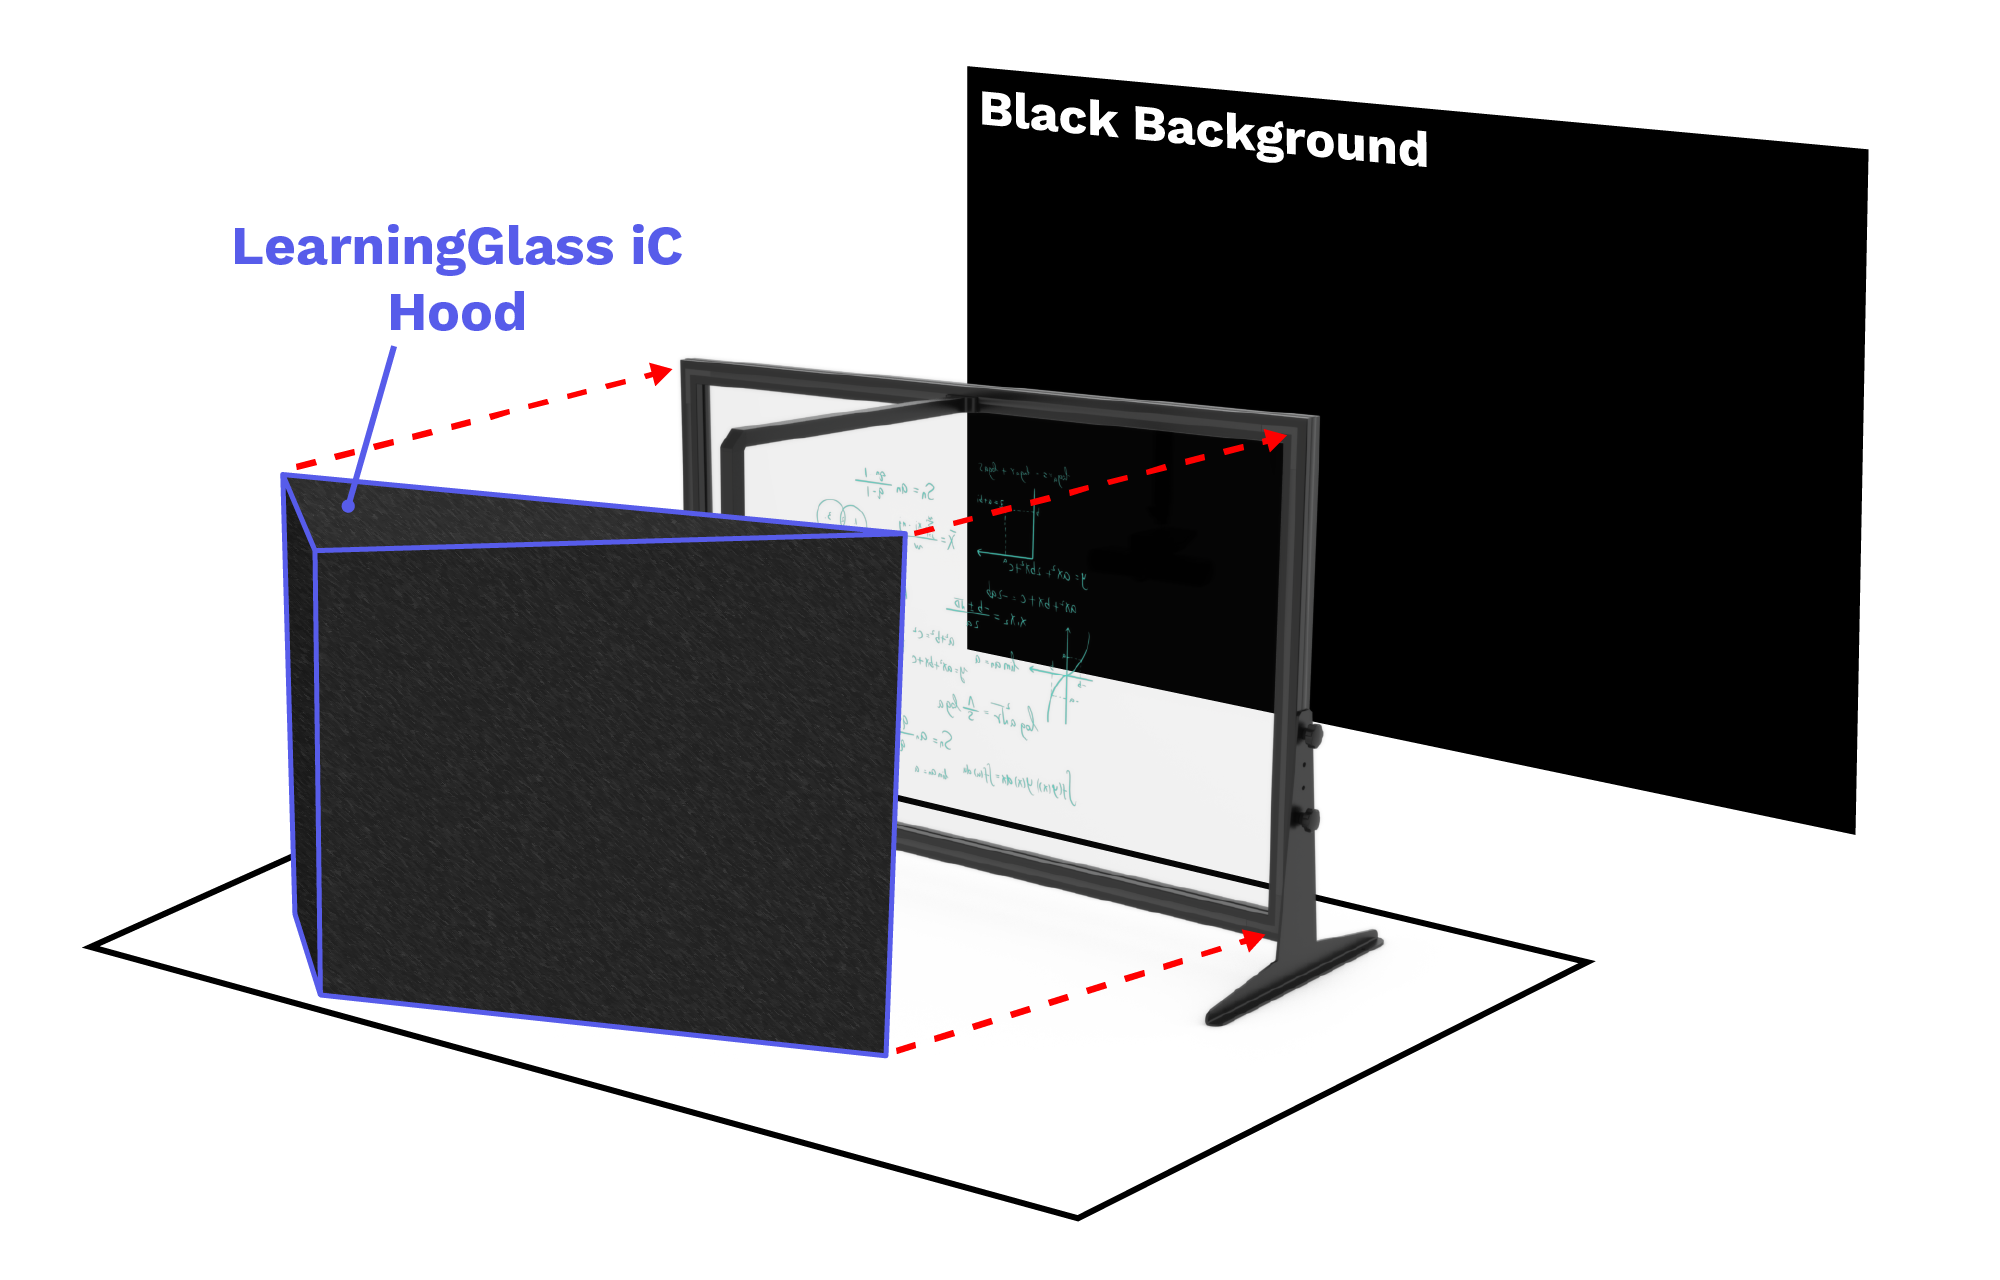
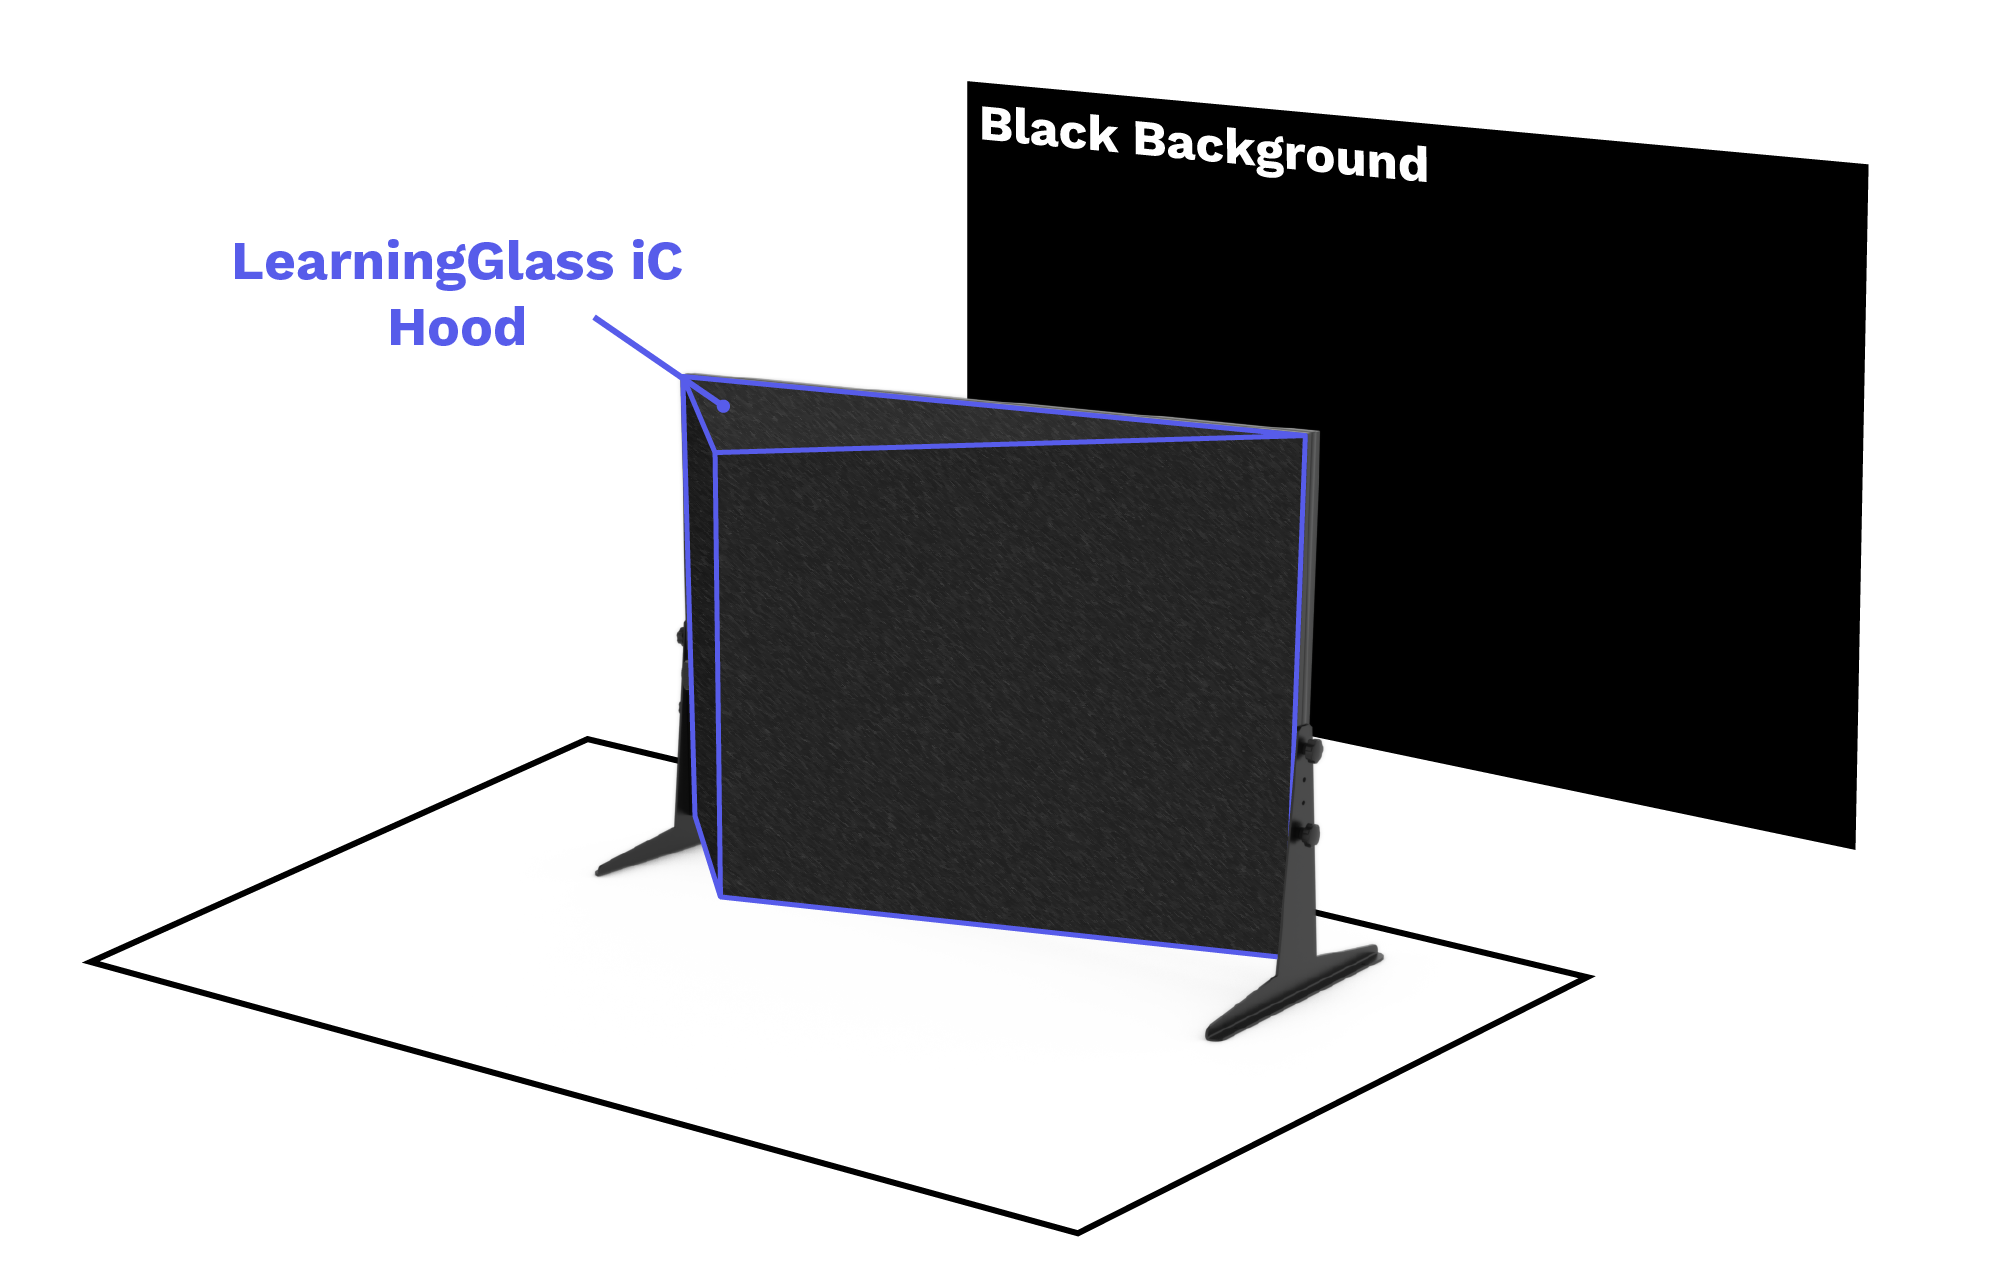
- Reflections: try to eliminate light in the room (windows, ceiling lights etc.) that may cause reflections on the glass. You can also purchase the Learning Glass ‘hood’ which shields the camera-side glass from any unwanted light.
- Place your computer underneath the lightboard so you can access your applications and at the same time maintain a direct view of the camera. Any reflections on the glass from your computer can be eliminated by using a polarizing filter on the camera lens.
Lightboard Best Practices
- Wear medium to dark clothing in a solid colour, with no writing, or patterns that will distract.
- Decide where you will write key points, drawings or graphs on the board. (Do not write in front of your face.)
- Use normal gestures and your presentation style.
- Look at camera periodically to encourage perception of eye contact.
- Be Confident! Use your Creativity! Most of all, be yourself!